出于这样那样的原因我们时常需要自己编译一份Swift的编译器来使用。Apple官方在这方面的文档几乎没有。
首先你需要将以下文本保存到~/.swift-build-presets这个文件里
[preset: LocalReleaseToolchain]
ios
tvos
watchos

lldb
llbuild
swiftpm
playgroundsupport

release
compiler-vendor=apple

dash-dash

lldb-no-debugserver
lldb-use-system-debugserver
lldb-build-type=Release
verbose-build
build-ninja
build-swift-static-stdlib
build-swift-static-sdk-overlay
playgroundsupport-build-type=Release

skip-test-ios-host
skip-test-tvos-host
skip-test-watchos-host
skip-test-ios
skip-test-tvos
skip-test-watchos
skip-test-osx
skip-test-cmark
skip-test-lldb
skip-test-swift
skip-test-llbuild
skip-test-swiftpm
skip-test-xctest
skip-test-foundation
skip-test-libdispatch
skip-test-playgroundsupport
skip-test-libicu

install-swift
install-lldb
install-llbuild
install-swiftpm
install-playgroundsupport

install-destdir=%(install_destdir)s

darwin-install-extract-symbols

# Path where debug symbols will be installed.
install-symroot=%(install_symroot)s

# Path where the compiler, the runtime and the standard libraries will be
# installed.
install-prefix=%(install_toolchain_dir)s/usr

# Executes the lit tests for the installable package that is created
# Assumes the swift-integration-tests repo is checked out

test-installable-package

# If someone uses this for incremental builds, force reconfiguration.
reconfigure

swift-install-components=compiler;clang-builtin-headers;stdlib;swift-syntax;sdk-overlay;license;sourcekit-xpc-service;swift-remote-mirror;swift-remote-mirror-headers
llvm-install-components=libclang;libclang-headers

# Path to the .tar.gz package we would create.
installable-package=%(installable_package)s

# Path to the .tar.gz symbols package
symbols-package=%(symbols_package)s

# Info.plist
darwin-toolchain-bundle-identifier=%(darwin_toolchain_bundle_identifier)s
darwin-toolchain-display-name=%(darwin_toolchain_display_name)s
darwin-toolchain-display-name-short=%(darwin_toolchain_display_name_short)s
darwin-toolchain-name=%(darwin_toolchain_xctoolchain_name)s
darwin-toolchain-version=%(darwin_toolchain_version)s
darwin-toolchain-alias=%(darwin_toolchain_alias)s
这是个基于官方编译预设(叫做Build Preset)的配置按照我们的需求定制的预设,主要的好处是:
- 跳过了debugserver的编译(省去对debugserver进行代码签名)
- 跳过了所有耗时的测试用例
- 在Release模式下编译,默认的Toolchain脚本用Debug模式需要将近40GB的硬盘空间
然后我们正常clone一份Swift的源码:
mkdir SwiftSRC && git clone https://github.com/apple/swift.git -b swift-5.0-branch
更新Swift的其他组件:
swift/utils/update-checkout --clone
这个步骤取决于你的网速可能需要半个小时左右。
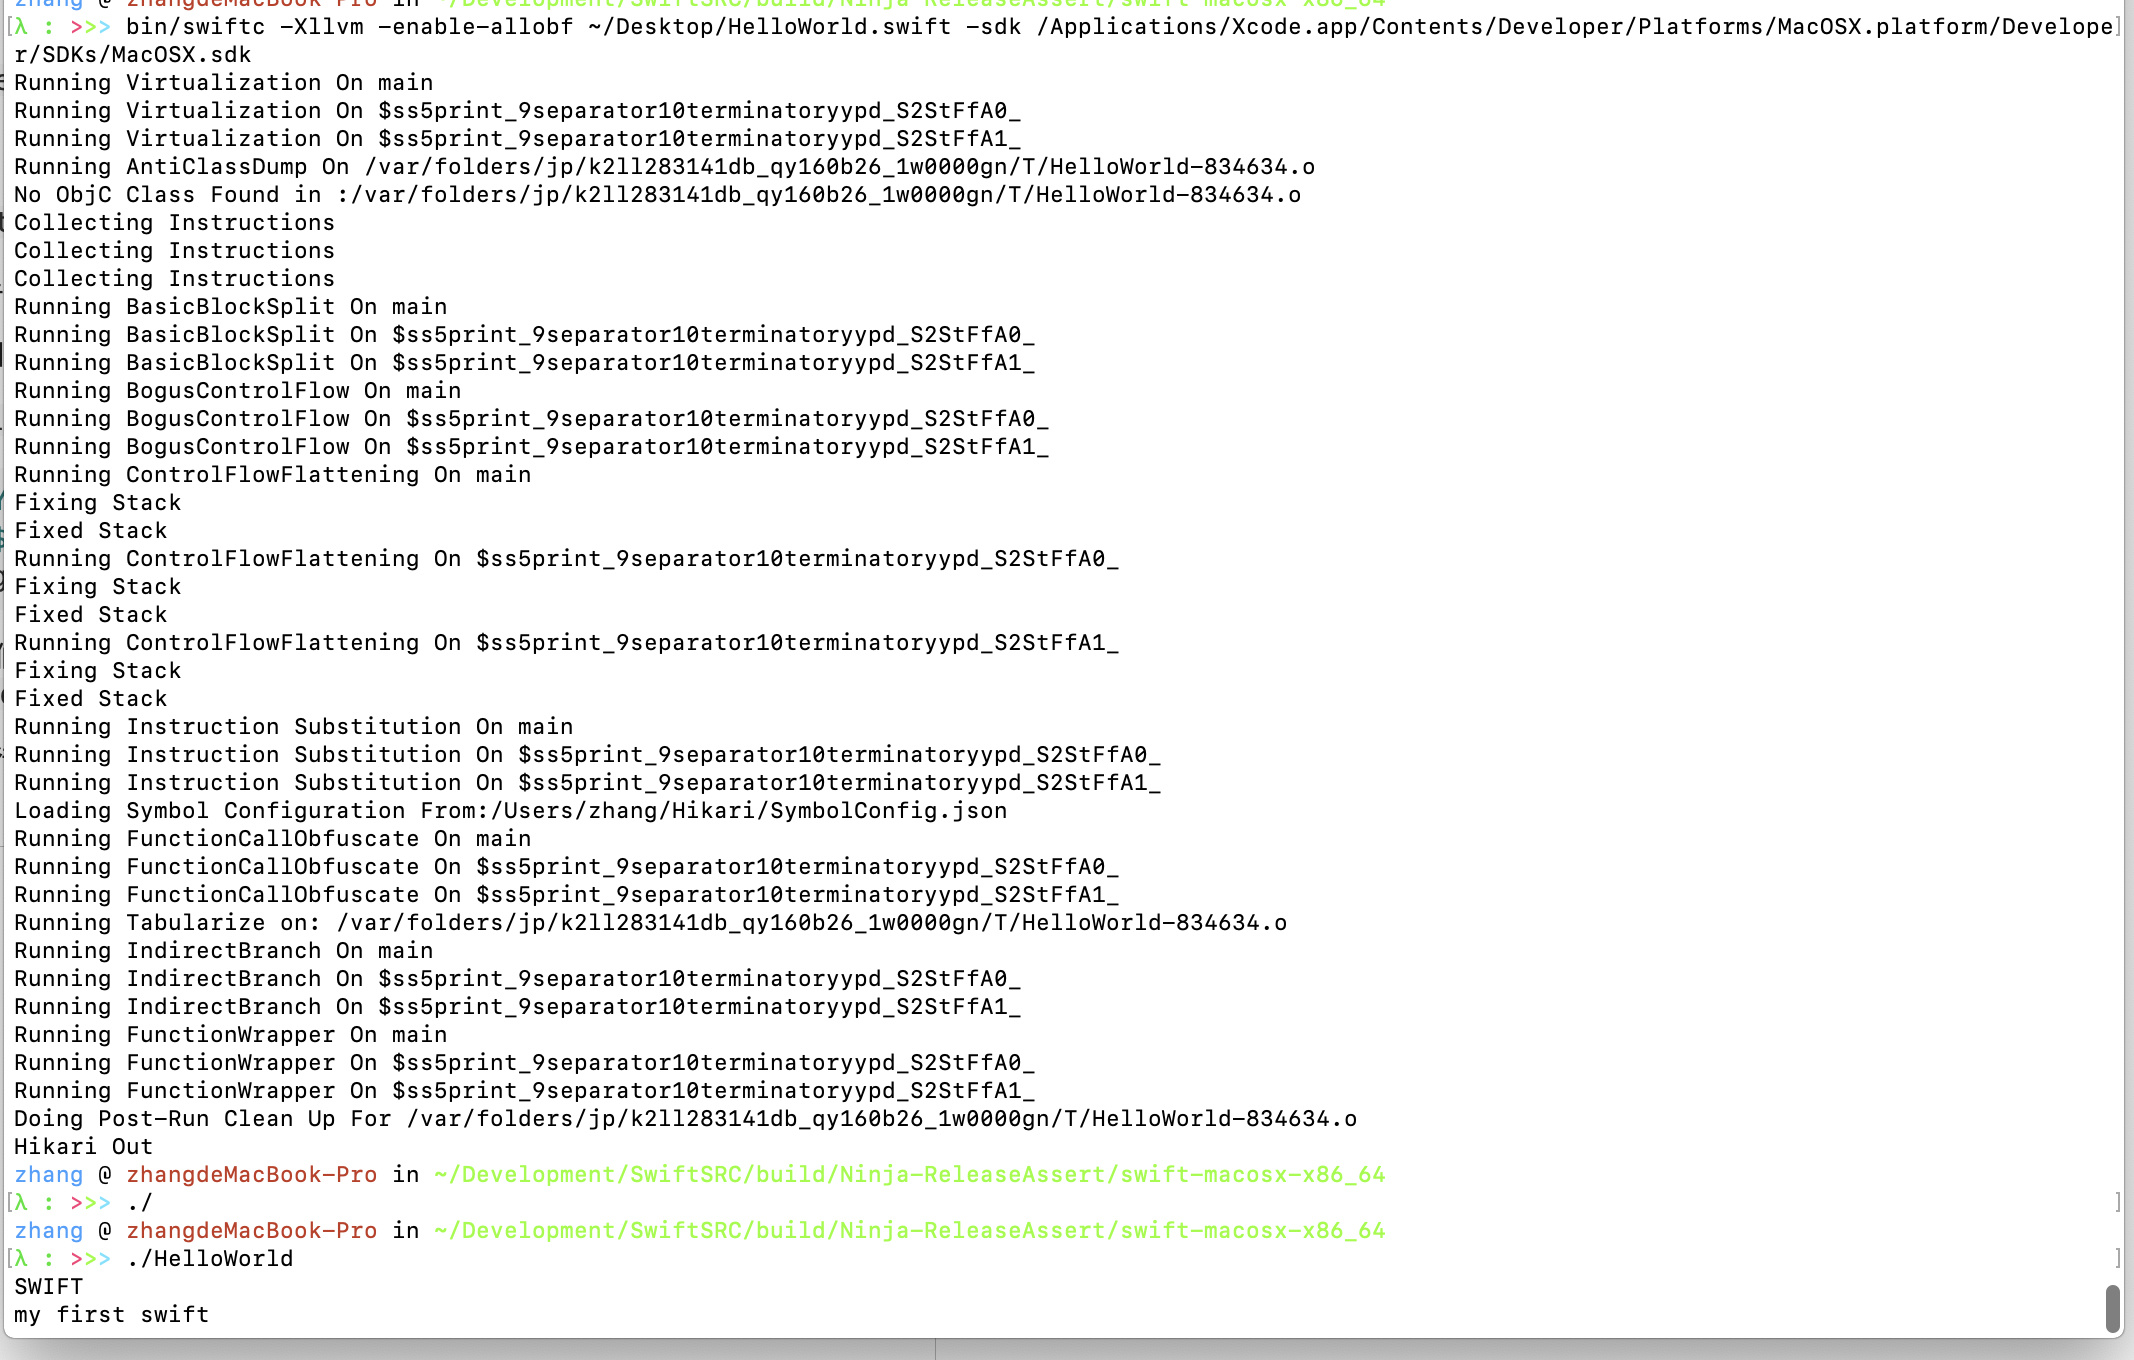
然后这里可以更改SwiftSRC/LLVM目录下的LLVM源码树来注入混淆Pass, 具体可以参见我的博客
然后修改Swift的工具链编译脚本SwiftSRC/swift/utils/build-toolchain , 将如下部分:
./utils/build-script ${DRY_RUN} ${DISTCC_FLAG} --preset="${SWIFT_PACKAGE}" \
        install_destdir="${SWIFT_INSTALL_DIR}" \
        installable_package="${SWIFT_INSTALLABLE_PACKAGE}" \
中的${SWIFT_PACKAGE}修改为我们一开始创建的Preset的名称,此处为LocalReleaseToolchain,修改后变为 --preset="LocalReleaseToolchain"
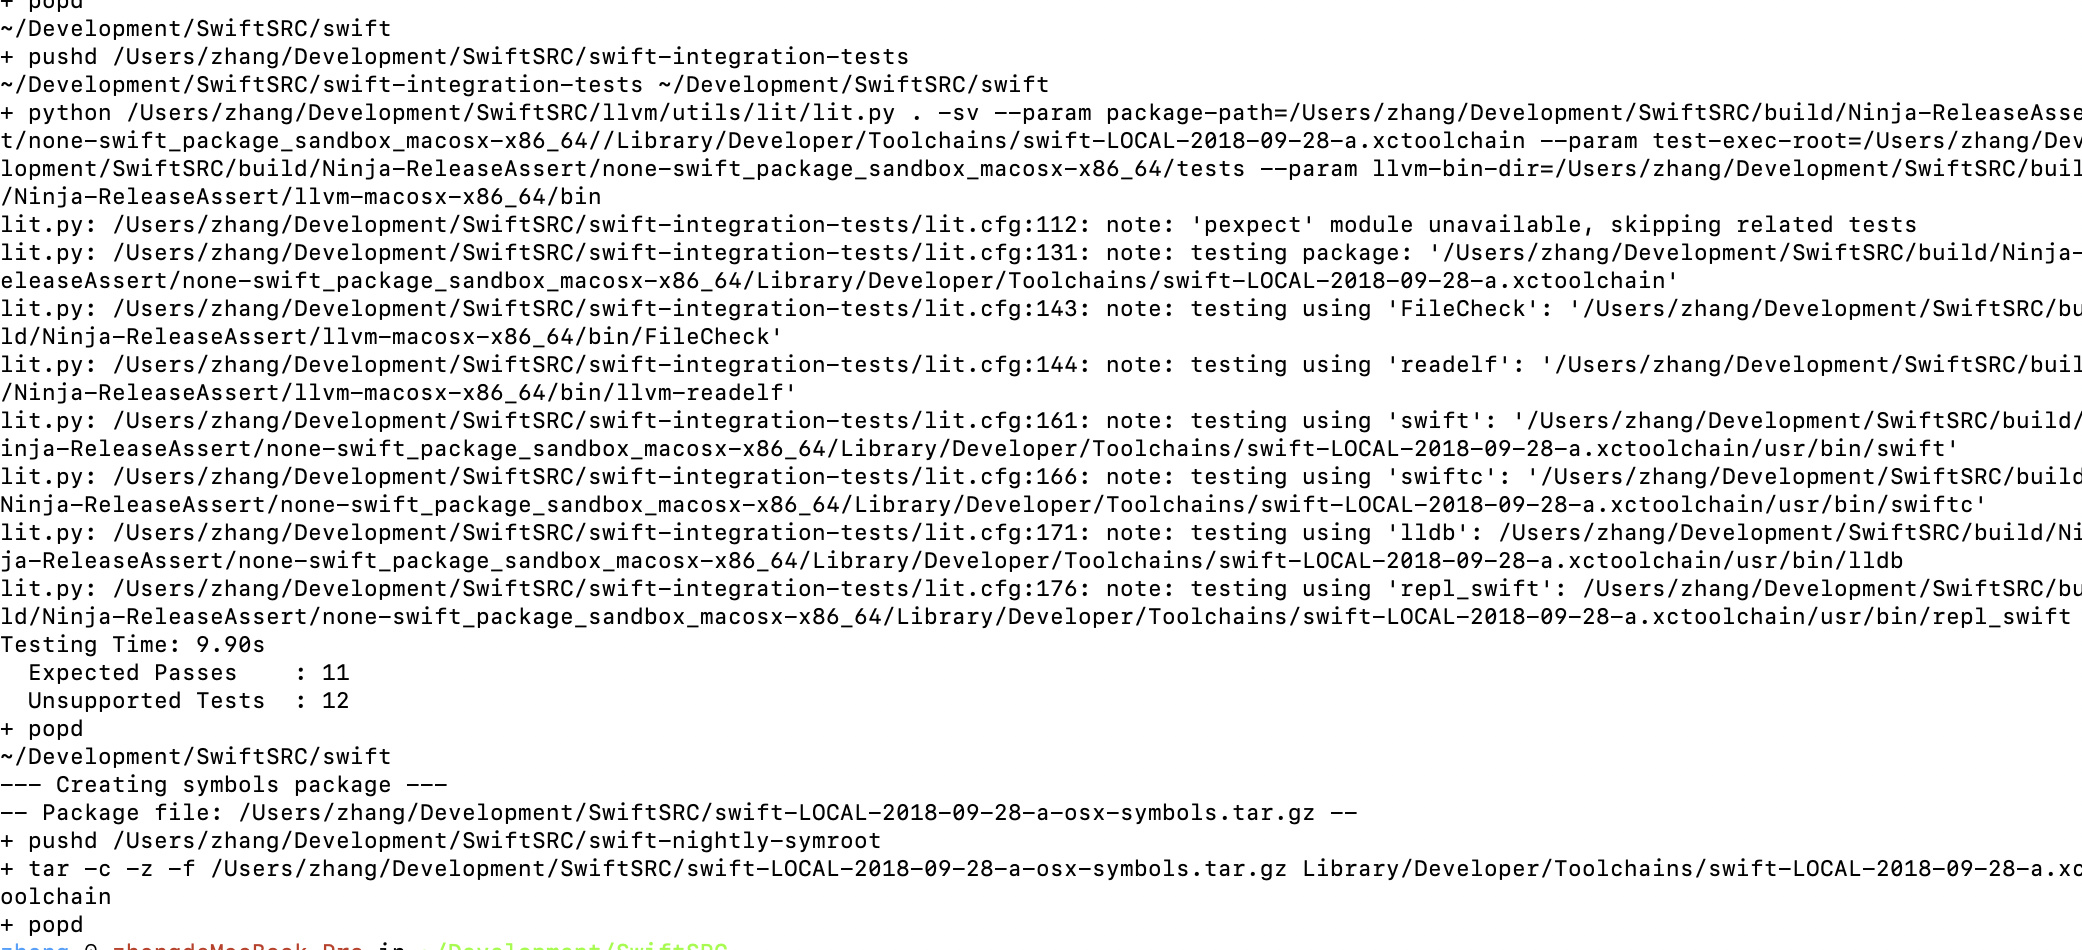
最后正常编译,在SwiftSRC目录下执行swift/utils/build-toolchain 任意名称即可,全程需花费3小时左右。