Hi everyone, what’s up!
After the writing of “Run a daemon (as root) on iOS”, some of you were asking about how to write an App with root privilege. So here comes the tutorial. Our target today is an App with root privileges. When you press a button, iOS reboots.
Part I Basic theory
1. App ownership
Please take a look at tutorial one if you have no idea what’s ownership. After reading that, you know all Apps under /Applications/ are owned by root:wheel.
Note, chown root:wheel is done by Theos’ fauxsu, which is necessary in this post and also explained in tutorial one!
2. User identifier
According to wikipedia and this page, we know that the owner of a file is different from the owner of a process, the latter of which is often referred to as user identifier.
So to run the App as root, we need to change the real user id or effective user id of the app to 0, you can think of them as parallel to “su root” and “sudo”.
Let’s take a look at the default user ids of an App.
3. setuid permission
According to this doc
When set-user identification (setuid) permission is set on an executable file, a process that runs this file is granted access based on the owner of the file (usually root), rather than the user who is running the executable file.
which provides a way to modify the user ids of a process. This is the key feature we’re making use of, soon you’ll see what we can do with it.
Part II Composing
First creat a new App with Theos.
FunMaker-MBP:Code snakeninny$ nic.pl
NIC 2.0 - New Instance Creator
------------------------------
  [1.] iphone/activator_event
  [2.] iphone/application_modern
  [3.] iphone/cydget
  [4.] iphone/flipswitch_switch
  [5.] iphone/framework
  [6.] iphone/ios7_notification_center_widget
  [7.] iphone/library
  [8.] iphone/notification_center_widget
  [9.] iphone/preference_bundle_modern
  [10.] iphone/tool
  [11.] iphone/tweak
  [12.] iphone/xpc_service
Choose a Template (required): 2
Project Name (required): iOSREbooter
Package Name [com.yourcompany.iosrebooter]: com.naken.iosrebooter
Author/Maintainer Name [snakeninny]: snakeninny
[iphone/application_modern] Class name prefix (two or more characters) [XX]: RB
Instantiating iphone/application_modern in iosrebooter/...
Done.
Then modify the contents of RBRootViewController.m
...
- (void)addButtonTapped:(id)sender {
#pragma GCC diagnostic push
#pragma GCC diagnostic ignored "-Wdeprecated-declarations"
	NSLog(@"iOSRE: %d, %d, %d", getuid(), geteuid(), system("reboot"));
#pragma GCC diagnostic pop
	[_objects insertObject:[NSDate date] atIndex:0];
	[self.tableView insertRowsAtIndexPaths:@[ [NSIndexPath indexPathForRow:0 inSection:0] ] withRowAnimation:UITableViewRowAnimationAutomatic];
}
...
Compile and install this App on your device. Launch iOSREbooter, hit the + button on the top right corner, and take a look at the output in syslog:
Sep 26 15:56:25 FunMaker-SE iOSREbooter[795] <Warning>: iOSRE: 501, 501, 256
Ok, the real user id and effective user id of process iOSREbooter are both 501, i.e. mobile, and reboot failed for sure. So how do we reset the user ids of this process? Yes, it’s setuid permission/bit, and all we need is a makefile feature, like this:
after-stage::
	$(ECHO_NOTHING)chmod +s $(THEOS_STAGING_DIR)/Applications/iOSREbooter.app/iOSREbooter$(ECHO_END)
With this 2 lines of script, Theos will automatically set the setuid bit of our executable binary /Applications/iOSREbooter.app/iOSREbooter.
With setuid bit, we can call setuid() or seteuid() inside iOSREbooter to modify real/effective user ids. Let’s use setuid() this time:
Note, most of the time you only need to seteuid rather than setuid (Think about su root vs. sudo, but we don’t have sudo on iOS BTW)!
#import "RBAppDelegate.h"

int main(int argc, char *argv[]) {
	@autoreleasepool {
	        setuid(0);
		return UIApplicationMain(argc, argv, nil, NSStringFromClass(RBAppDelegate.class));
	}
}
And our Makefile looks like this:
export THEOS_DEVICE_IP = localhost
export THEOS_DEVICE_PORT = 2222
export ARCHS = armv7 arm64
export TARGET = iphone:clang:latest:8.0

include $(THEOS)/makefiles/common.mk

APPLICATION_NAME = iOSREbooter
iOSREbooter_FILES = main.m RBAppDelegate.m RBRootViewController.m
iOSREbooter_FRAMEWORKS = UIKit CoreGraphics

include $(THEOS_MAKE_PATH)/application.mk

after-stage::
	$(ECHO_NOTHING)chmod +s $(THEOS_STAGING_DIR)/Applications/iOSREbooter.app/iOSREbooter$(ECHO_END)

after-install::
	install.exec "su mobile -c uicache"
	install.exec "killall \"iOSREbooter\"" || true
Compile and relaunch the app, you’ll find it crash at start. Why? The reason is that backboardd is running as mobile, it can’t launch a root process, so iOSREbooter got killed. How do we deal with this situation?
If you have ever looked close at Cydia.app or iFile.app, you’ll know they run as root. What they do is making backboardd run a bash script, and the bash script launches the real root App, which bypasses iOS’ check. A simple bash script would be like this:
#!/bin/bash
root=$(dirname "$0")
exec "${root}"/iOSREbooter
The only thing you need to do for customization is changing iOSREbooter to your App’s name. Easy huh?
One last thing, we tell backboardd to run this bash script instead of our executable. You may already guessed how: Change the value of key “CFBundleExecutable” in Info.plist to our bash script, like (“bash” is our bash script):
CFBundleExecutable = "bash";
The ultimate project tree looks like this:
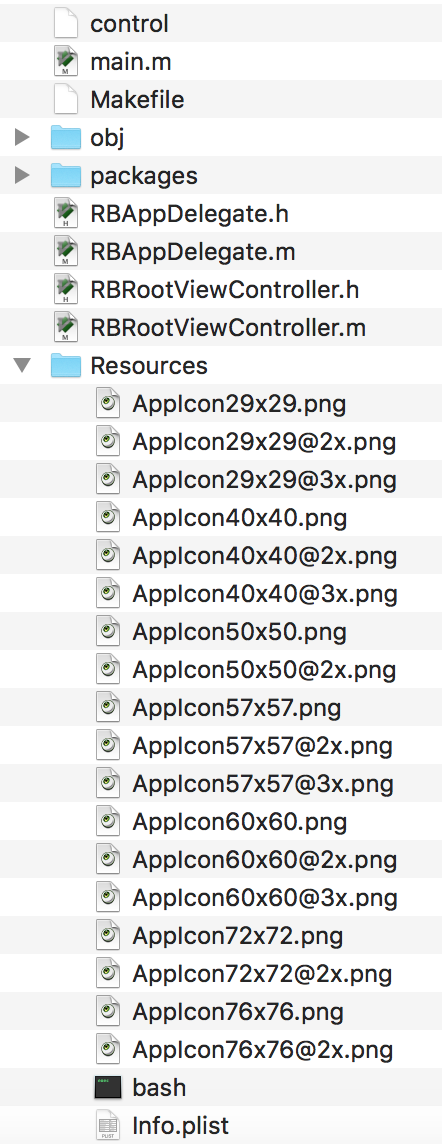
Compile and run. Boom! Our iPhone reboots when you hit the + button.
Part III Conclusion
User identifications are rather complicated on iOS/OSX. I strongly suggest you read some documents about uids before making your App run as root, or it could cause unexpected problems. Have fun, but the risk is on your own.
References:
http://bbs.iosre.com/t/run-a-daemon-as-root-on-ios/212